Hi friends, in this tutorial, you will learn how to create a project in laravel 11 from scratch. I will be explaining in a very simple way and if you are wondering to do so then you have come to the right place. As we all know from previous Larvel installations it requires PHP and composer to be installed before creating any laravel version project. So in the case of Laravel 11, we require the latest PHP version and composer to create the project. Please follow the steps given below.
Also read, Laravel custom authentication step by step tutorial
Required steps to create a project in Laravel 11
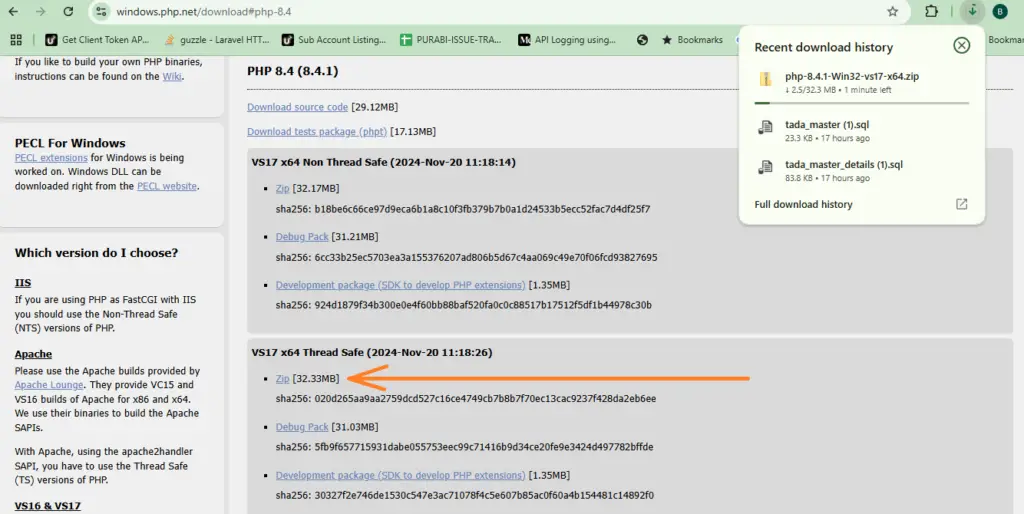
Step 1:- First, download the latest PHP version from here as shown in the image below.
Step 2: Now, it is time to edit the path of the latest PHP version in the system environment variables.
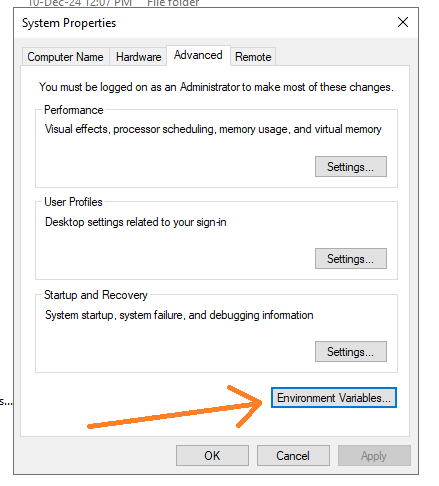
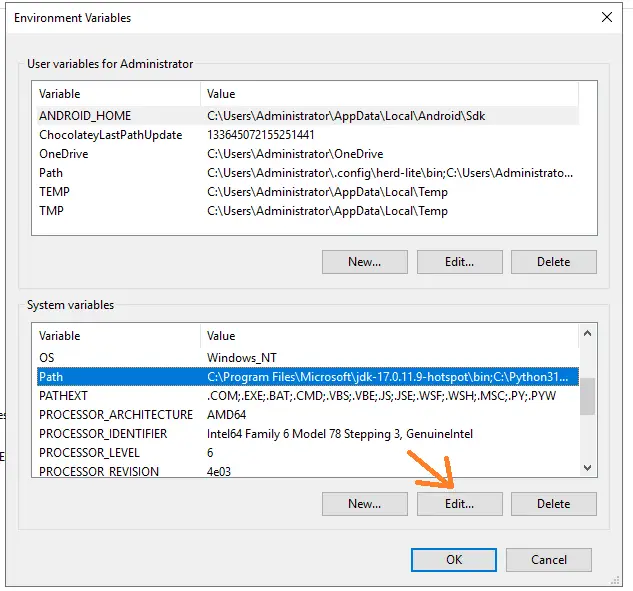
Step 3:- Go to the environment variable screen select path and edit as shown below.
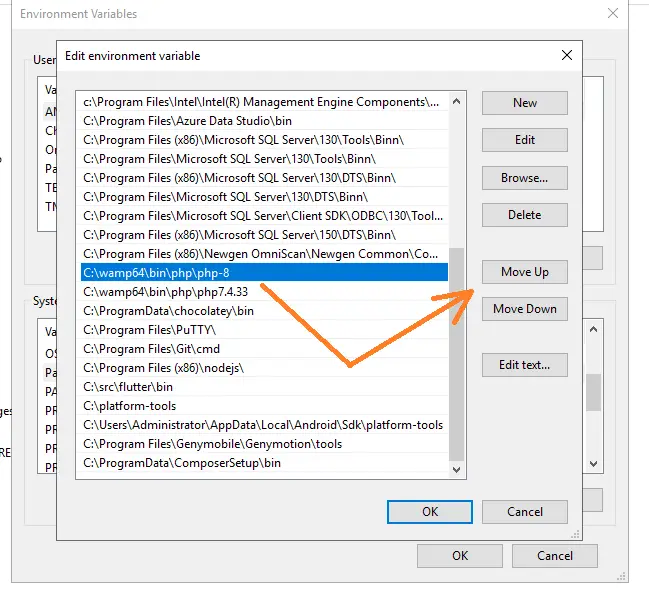
Step 4:- Next, the path list will open, select the desired version you want to use and click on move to top at the right.
Step 5:- Now run the below command to check the version of PHP that you have set in the environment variable.
php -v
Now you can see the latest version of PHP as shown below

Step 6:- Now, download and install the composer from https://getcomposer.org/
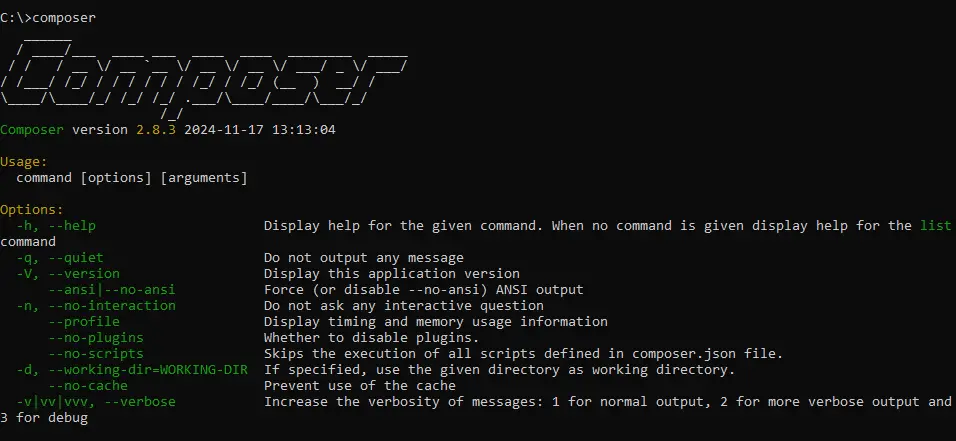
Step 7:- After installing the composer, you can go to the command terminal type composer, and see the composer screen as given below.
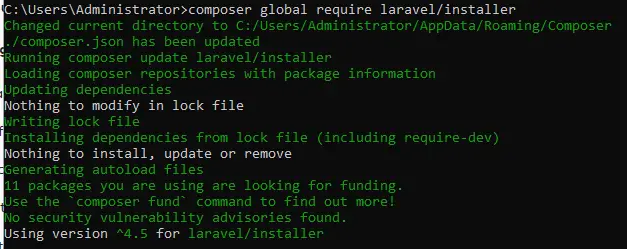
Step 8:- Now you can install the global laravel installer using the below command.
Step 9:- After completion of the global laravel installer, go to the root directory of your local server or where you want to create the project and run the below command as shown below.
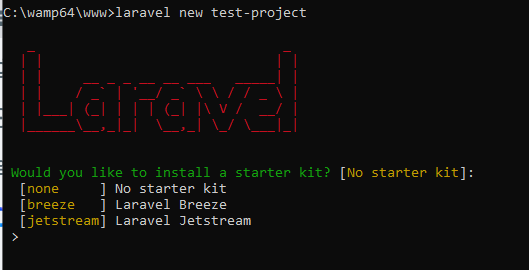
Step 10:- Now you are asked to select the starter kit. In my case, I will go with the breeze.
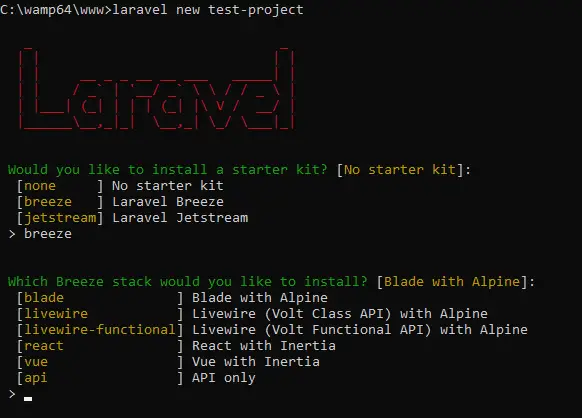
Step 11:- Now you are asked to select the breeze stack. In my case, I will go with a blade with alpine as shown below.
Step 12:- Now after successful breeze installation, you will see the below image.
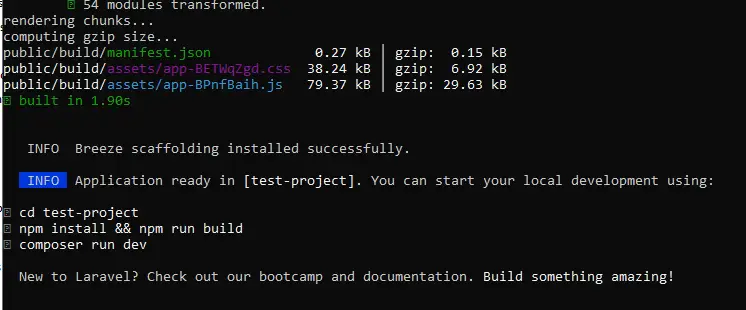
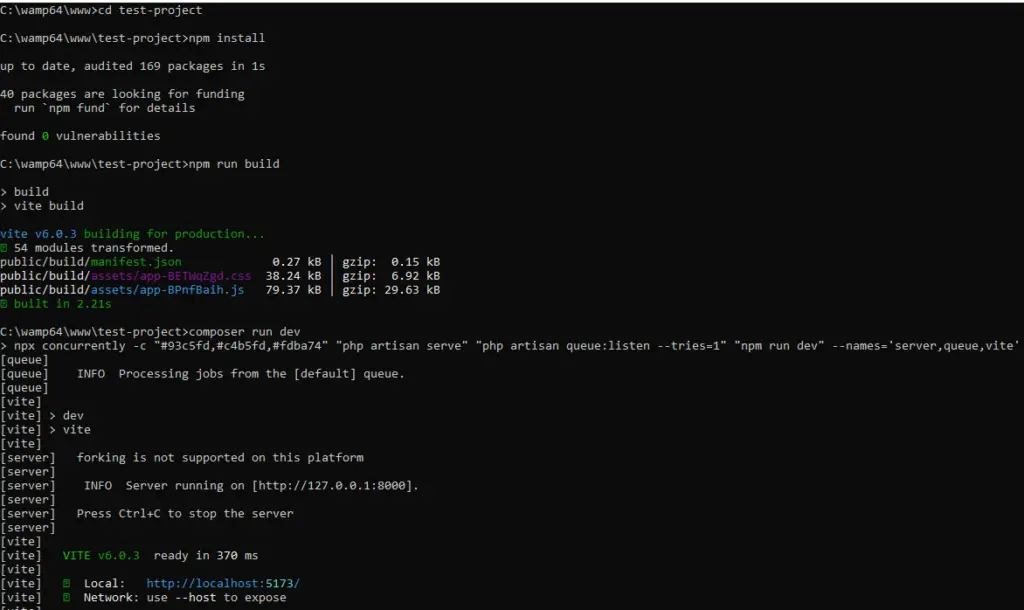
Step 13:- Now, run the commands one by one as shown in the image of Step 10 and you can see as shown below.
Step 14:- Now press CTRL+C to go to your project folder and run php artisan migrate.
Step 15:- Next, you might get an error as shown below.
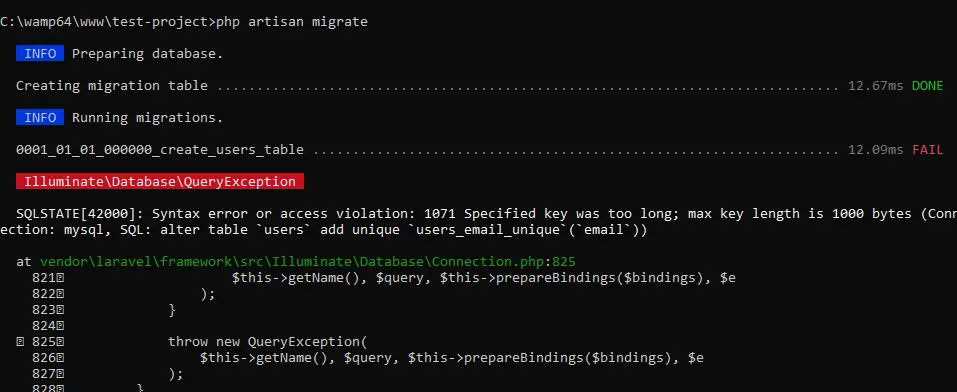
Step 16:- Now, delete the users table and migrations table go to AppServiceProvider.php under the app folder, and update as given below.
<?php

namespace App\Providers;

use Illuminate\Support\ServiceProvider;
use Illuminate\Support\Facades\Schema;

class AppServiceProvider extends ServiceProvider
{
    /**
     * Register any application services.
     */
    public function register(): void
    {
        //
    }

    /**
     * Bootstrap any application services.
     */
    public function boot(): void
    {
        //
        Schema::defaultStringLength(191);
    }
}
Step 17:- Now again run the command php artisan migrate shown in the below image.
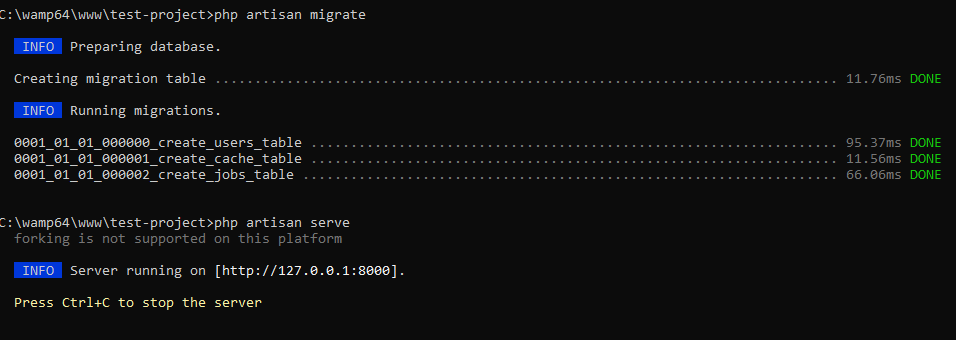
Step 18:- Now, go to your project folder in the command terminal and run the command php artisan serve.
Step 19:- Now, open the browser and hit http://127.0.0.1:8000/ and you will see the welcome page as shown below.

Conclusion:- I hope this tutorial will help you to understand the concept in detail. If there is any doubt then please leave a comment below.
