
Hi friends, in this tutorial you will learn how to use forEach loop in Node JS template engine. Generally, ejs (embedded template engine) is known as the node js template engine. Therefore, we will use forEach loop inside the html files residing under the views folder by default.
Also read, EJS Template in Node JS with an Example
HTML files are created inside the views folder with .ejs extension which means the HTML files can be displayed on the browser directly without any .html extension just by including the name of the route.
Also read, How to render HTML files in Express JS
Steps to use forEach loop in Node JS template engine
Step 1:- First of all create a file with a .js extension inside the root directory that is your project folder. For eg:-
foreach.js
Step 2:- Now, inside the “foreach.js”, initialize the packages and modules of express js framework with the help of const keyword as shown below.
const express = require('express');
Step 3:- Now, declare another variable “data” to use the functionality of express js modules as shown below.
const data = express();
Step 4:- Now, call the ejs template engine using the set() method and the above “data” variable as shown below.
data.set('view engine','ejs');
Step 5:- Now, set up the route name “profile” using the get() method and the above “data” variable as shown below.
data.get('/profile',(req,resp)=>{
   const skillset = ['C','C++','java','PHP','Node JS','Python','React JS'];
   resp.render('profile',{skillset});
});
Please note that in the above piece of code, I have used an array of skillset=[‘C’,’C++’,’java’,’PHP’,’Node JS’,’Python’,’React JS’] so that it can be displayed in the HTML file using the forEach loop.
Step 6:- Now, create an HTML file (profile.ejs) under the default views folder using the .ejs extension.
Step 7:- Now, paste the below code inside the profile.ejs file as shown below.
<html>
    <title></title>
    <head></head>
    <body>
        <h2>Welcome to the profile page</h2>
        <h3>My Skillsets are given below</h3>
        <ul>
            <% skillset.forEach((val)=>{
                %>
                    <li><%= val %></li>
                <%
            }) %>
        </ul>
    </body>
</html>
Complete Code (foreach.js)
const express = require('express');
const data = express();
data.set('view engine','ejs');
data.get('/profile',(req,resp)=>{
   const skillset = ['C','C++','java','PHP','Node JS','Python','React JS'];
   resp.render('profile',{skillset});
});
data.listen(3000);
Step 8:- Now, go to your browser and type https://localhost:3000/profile and press ENTER and then you can see the output as shown below.
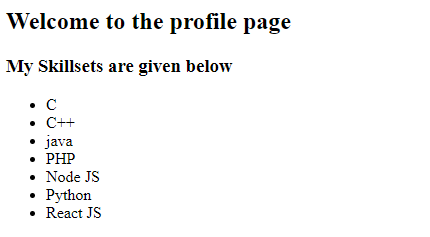
Conclusion:- I hope this tutorial will help you to understand the concept. If there is any doubt then please leave a comment below. Download VS Code editor