Hi friends, in this tutorial I will explain how to use google fonts using HTML and CSS on web pages or any kind of web application. It is very simple and easy to use google fonts as the CSS link for google fonts and google Roboto fonts is already available in Google. We just need to copy the link from Google and save it in an external CSS file.
Also read, How to create three column layout equally using HTML and CSS
Required steps to use google fonts using HTML and CSS
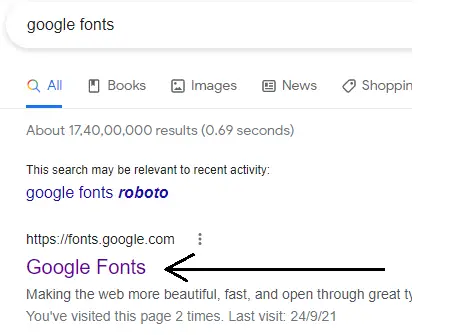
Step 1:- Go to Google and search for Google fonts as shown in the below screenshot.
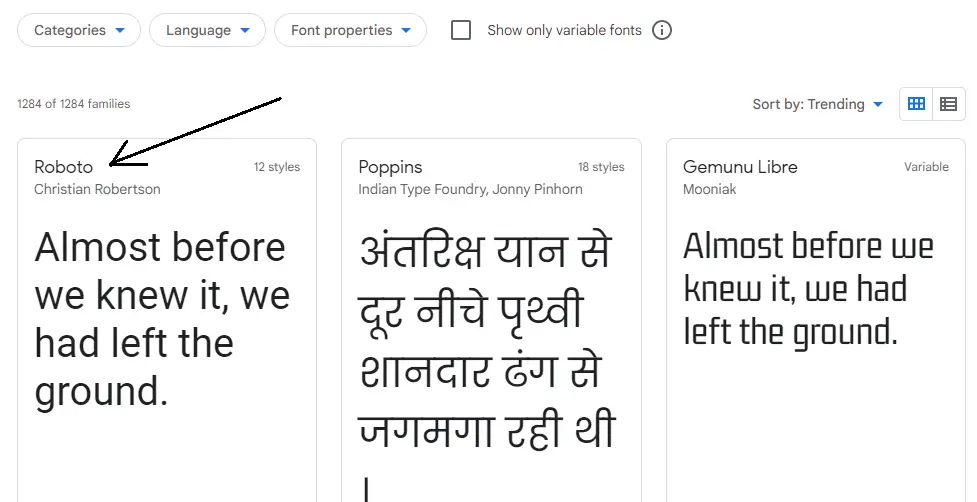
Step 2:- Choose a font family from the various options provided by Google as shown in the below screenshot that you want to apply to your web page or application.
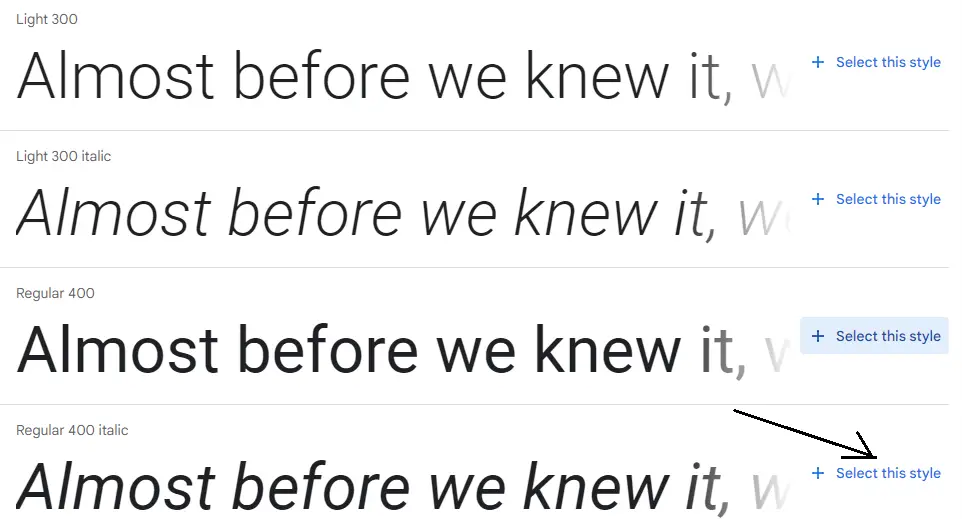
Step 3:- Here, you can see the different styles for the font family you have selected in step 2. Now you can select the style as shown in the below screenshot.
Step 4:- After the font style selection, a CSS link will be shown on the right side as shown below
Step 5:- Now create a folder in your root directory of the local server and create an HTML file inside that directory.
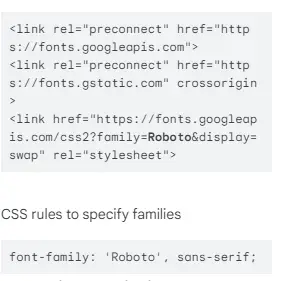
Step 6:- Now, copy the CSS link shown in step 5 and paste it into the HTML file as shown below.
googlefonts.html
<!DOCTYPE>
<html>
    <head>
        <title>Google Fonts</title>
        <link rel="preconnect" href="https://fonts.googleapis.com">
        <link rel="preconnect" href="https://fonts.gstatic.com" crossorigin>
        <link href="https://fonts.googleapis.com/css2?family=Roboto&display=swap" rel="stylesheet">
        <link rel="stylesheet" href="custom.css">
    </head>
    <body>
        <h3 align="center">This is the H3 heading</h3>
        <p align="center">This is the paragraph where we can apply the Google fonts to get the font style effect.</p>
    </body>
</html>
Step 7:- Create a custom CSS file inside the folder you have created in the root directory and paste the line in the CSS file as shown below.
body{
	font-family: 'Roboto', sans-serif;
}
Step 8:- Now, you can hit the URL on the browser and check like this https://localhost/googlefonts/googlefonts.html
Here is the image below before applying google fonts

Here is the image below after applying google fonts

Conclusion:- I hope this tutorial will help you to understand the overview. If there is any doubt then please leave a comment below.