Hi friends, in this tutorial you will learn how to create a Text slideshow HTML with images using w3 CSS and javascript. This is a very simple slideshow I have made using custom CSS and w3 CSS. You will find a lot of tutorials on image sliders but it is very rare to find sliders with text and images simultaneously within a single div. Below I have explained the step-by-step process for the slideshow.
Also read, Google like scrolling using jquery for multiple images
Required steps to create slideshow text and images in HTML w3 CSS and javascript
Step 1:- Create an HTML file inside the root directory of your local server.
Step 2:- Paste the below code inside the body tag of the HTML file as shown below.
<div class="w3-container">
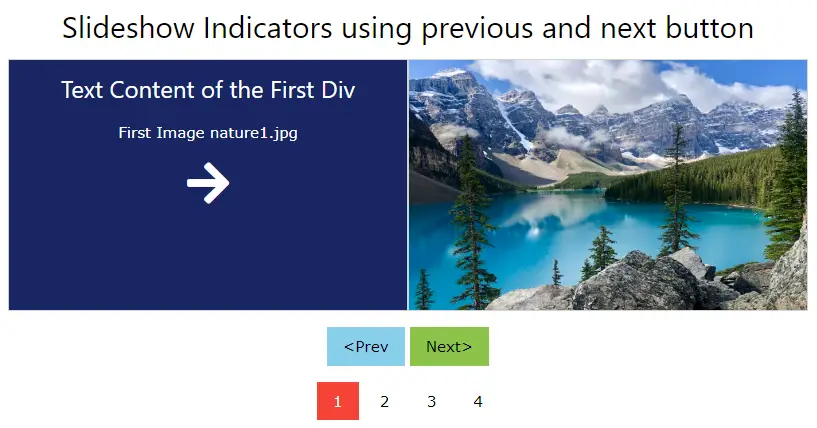
<h2 style="text-align:center;">Slideshow Indicators using previous and next button</h2>
</div>
<div class="w3-content" style="max-width:800px">
<div class="mySlides">
<div id="parent">
<div id="left">
<h3 style="text-align: center;color: white;">Text Content of the First Div</h3>
<p style="text-align:center;color: white;">First Image nature1.jpg</p>
<p style="text-align:center"><i class='fas fa-arrow-right' style='font-size:48px;color:white;'></i></p>
</div>
<div id="right">
<img src="nature1.jpg" style="width:100%">
</div>
</div>
</div>
<div class="mySlides">
<div id="parent">
<div id="left">
<h3 style="text-align: center;color: white;">Text Content of the Second Div</h3>
<p style="text-align:center;color: white;">First Image nature2.jpg</p>
<p style="text-align:center"><i class='fas fa-arrow-right' style='font-size:48px;color:white;'></i></p>
</div>
<div id="right">
<img src="nature2.jpg" style="width:100%">
</div>
</div>
</div>
<div class="mySlides">
<div id="parent">
<div id="left">
<h3 style="text-align: center;color: white;">Text Content of the Third Div</h3>
<p style="text-align:center;color: white;">First Image nature3.jpg</p>
<p style="text-align:center"><i class='fas fa-arrow-right' style='font-size:48px;color:white;'></i></p>
</div>
<div id="right">
<img src="nature3.jpg" style="width:100%">
</div>
</div>
</div>
<div class="mySlides">
<div id="parent">
<div id="left">
<h3 style="text-align: center;color: white;">Text Content of the Fourth Div</h3>
<p style="text-align:center;color: white;">First Image nature4.jpg</p>
<p style="text-align:center"><i class='fas fa-arrow-right' style='font-size:48px;color:white;'></i></p>
</div>
<div id="right">
<img src="nature4.jpg" style="width:100%">
</div>
</div>
</div>
<!-- <img class="mySlides" src="nature1.jpg" style="width:100%">
<img class="mySlides" src="nature2.jpg" style="width:100%">
<img class="mySlides" src=".jpg" style="width:100%"> -->
</div>
<div class="w3-center">
<div class="w3-section">
<button class="w3-button w3-light-blue" onclick="plusDivs(-1)">&lt;Prev</button>
<button class="w3-button w3-light-green" onclick="plusDivs(1)">Next&gt;</button>
</div>
<button class="w3-button demo" onclick="currentDiv(1)">1</button>
<button class="w3-button demo" onclick="currentDiv(2)">2</button>
<button class="w3-button demo" onclick="currentDiv(3)">3</button>
<button class="w3-button demo" onclick="currentDiv(4)">4</button>
</div>
Step 3:- Include the w3 CSS link in the HTML file inside the head section.
<link rel="stylesheet" href="https://www.w3schools.com/w3css/4/w3.css">
Step 4:- Paste the below javascript code inside the script tag as shown below
<script>
var slideIndex = 1;
showDivs(slideIndex);

function plusDivs(n) {
  showDivs(slideIndex += n);
}

function currentDiv(n) {
  showDivs(slideIndex = n);
}

function showDivs(n) {
  var i;
  var x = document.getElementsByClassName("mySlides");
  var dots = document.getElementsByClassName("demo");
  if (n > x.length) {slideIndex = 1}
  if (n < 1) {slideIndex = x.length}
  for (i = 0; i < x.length; i++) {
    x[i].style.display = "none";
  }
  for (i = 0; i < dots.length; i++) {
    dots[i].className = dots[i].className.replace(" w3-red", "");
  }
  x[slideIndex-1].style.display = "block";
  dots[slideIndex-1].className += " w3-red";
}
</script>
Step 5:- Paste the below custom CSS code inside the head section using the style tag.
<style>
.mySlides {display:none}
#parent {
  display: flex;
  justify-content: space-around;
}

#left {
  border: 1px solid lightgray;
  background-color: #182662;
  width: 100%;
}

#right {
  /*border: 1px solid lightgray;
  background-color: green;*/
  width: 100%;
}
img{
  height: 250px;
}
</style>
Step 6:- Paste another link for font awesome inside the script tags.
<script src='https://kit.fontawesome.com/a076d05399.js' crossorigin='anonymous'></script>
Conclusion:- I hope this tutorial will help you to understand the overview of the concept. If there is any doubt then please leave a comment below.
I do trust all of the ideas you have introduced on your post.
They’re really convincing and can definitely work.
Still, the posts are too quick for beginners.
Could you please lengthen them a little from subsequent time?
Thank you for the post.